
Windows Users: You will be prompted to download missing dependencies, click Install (Cuda) if you have an Nvidia GPU, and if not, click Install (No Cuda).
Linux Users: All dependencies are packaged in the .AppImage - so this step does not apply
Then click "Select Image Folder" to select the folder containing the images.
Aftewards click Select Output Folder to select the folder where the result should be stored (There should be plenty of disk space in the location of the output folder).
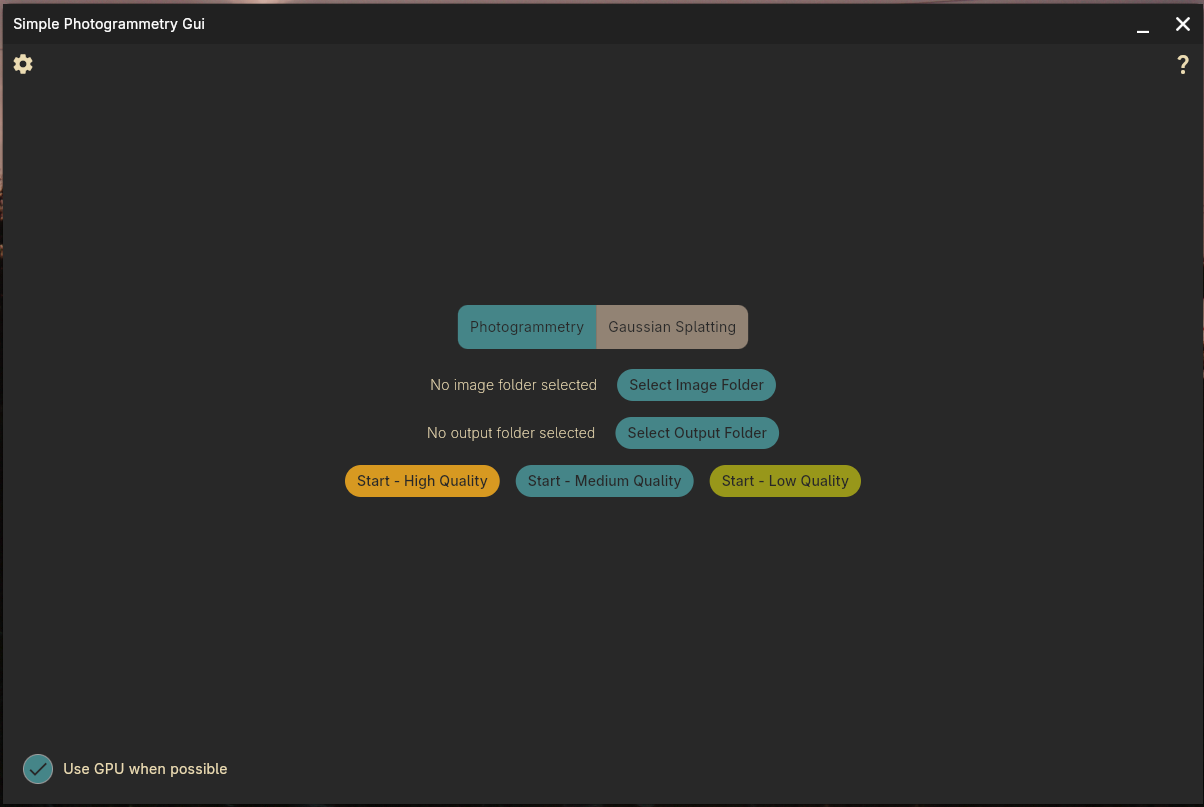
Lastly, click start. The finished result will be in the output folder with the name: textured.obj
```
git clone https://github.com/edin45/simple_photogrammetry_gui.git
cd simple_photogrammetry_gui
flutter clean
flutter pub get
flutter build windows --release
```
then alongside the simple_photogrammetry_gui.exe (in the build/windows/runner/Release folder) put your desired (compiled!) version of openmvs as a zip file called openmvs.zip (zip the contents of the folder not the folder itself, or it will not work).
Along with zip files of:
- decimateMesh.exe (compiled from python/decimateMesh.py using command: pyinstaller --onefile decimateMesh.py --collect-all pymeshlab)
- resizeImages.exe (compiled from python/resizeImages.py using command: pyinstaller --onefile resizeImages.py)
- texrecon.exe (is in the folder mvs-texturing)
This is experimental - so it could have issues, but if it works it should compile all dependencies, collect them and set them up, and finally package everything into a nice .AppImage this should work on pretty much all Linux distros as we create an Ubuntu 22.04 docker & compile in there.
```
git clone https://github.com/edin45/simple_photogrammetry_gui.git
cd simple_photogrammetry_gui/linux_compilation_scripts_wip
docker build -t simple_photogrammetry_gui_box .
docker run -it -v $(pwd)/..:/workspace/simple_photogrammetry_gui simple_photogrammetry_gui_box /bin/bash
cd /workspace
cp simple_photogrammetry_gui/linux_compilation_scripts_wip/compile_dependecies.sh .
cp simple_photogrammetry_gui/linux_compilation_scripts_wip/build_appimage.sh .
./compile_dependecies.sh
./build_appimage.sh
cp *.AppImage simple_photogrammetry_gui/
```
The Nix build supports x86-64 Linux and provides two variants. Both include the command-line programs used by the reconstruction pipeline.
| Variant | Run in one command | Native dependencies | Host requirement |
|---|---|---|---|
| CUDA | nix run .#cuda |
CUDA-enabled COLMAP and OpenMVS | An NVIDIA driver compatible with CUDA 12.9 |
| CPU | nix run .#cpu |
CPU-only COLMAP and OpenMVS | No NVIDIA driver |
Install a current version of Nix, then run the variant that matches the computer. The CPU choice concerns the photogrammetry pipeline. Gaussian splatting uses Brush and has its own graphics hardware requirements.
To keep a result link instead of launching immediately, build a variant and
run its launcher:
nix build .#cuda
./result/bin/simple_photogrammetry_gui
Replace cuda with cpu for the CPU package. The unqualified nix run and
nix build commands currently select CUDA by default.
To work on the Flutter source, enter a temporary shell containing Flutter and the CUDA build libraries. Set the same application mode used by the CUDA package when launching the unwrapped application:
nix develop
SIMPLE_PHOTOGRAMMETRY_GPU_TYPE=cuda flutter run -d linux
To load the development shell automatically, install
direnv, add its hook to your shell,
review .envrc, and approve it once:
direnv allow.envrc contains only use flake, so it loads the same pinned tools as
nix develop. Direnv requires approval because .envrc is shell code from the
checkout.
For an explanation of the Nix files, dependency pinning, CI checks, and local validation, see Maintaining the Nix build.
OpenMVS: https://github.com/cdcseacave/openMVS
Colmap: https://colmap.github.io/
mvs-texturing: https://github.com/nmoehrle/mvs-texturing
PoissonRecon: https://github.com/mkazhdan/PoissonRecon